
Your First Hockey Season: The New Parent Checklist
5 October 2026 · RinkReady
Your first hockey season goes smoothly when four things are handled early: registration, properly fitted gear, a packed bag, and a routine for getting to the rink on time. Everything else you will learn in the stands.
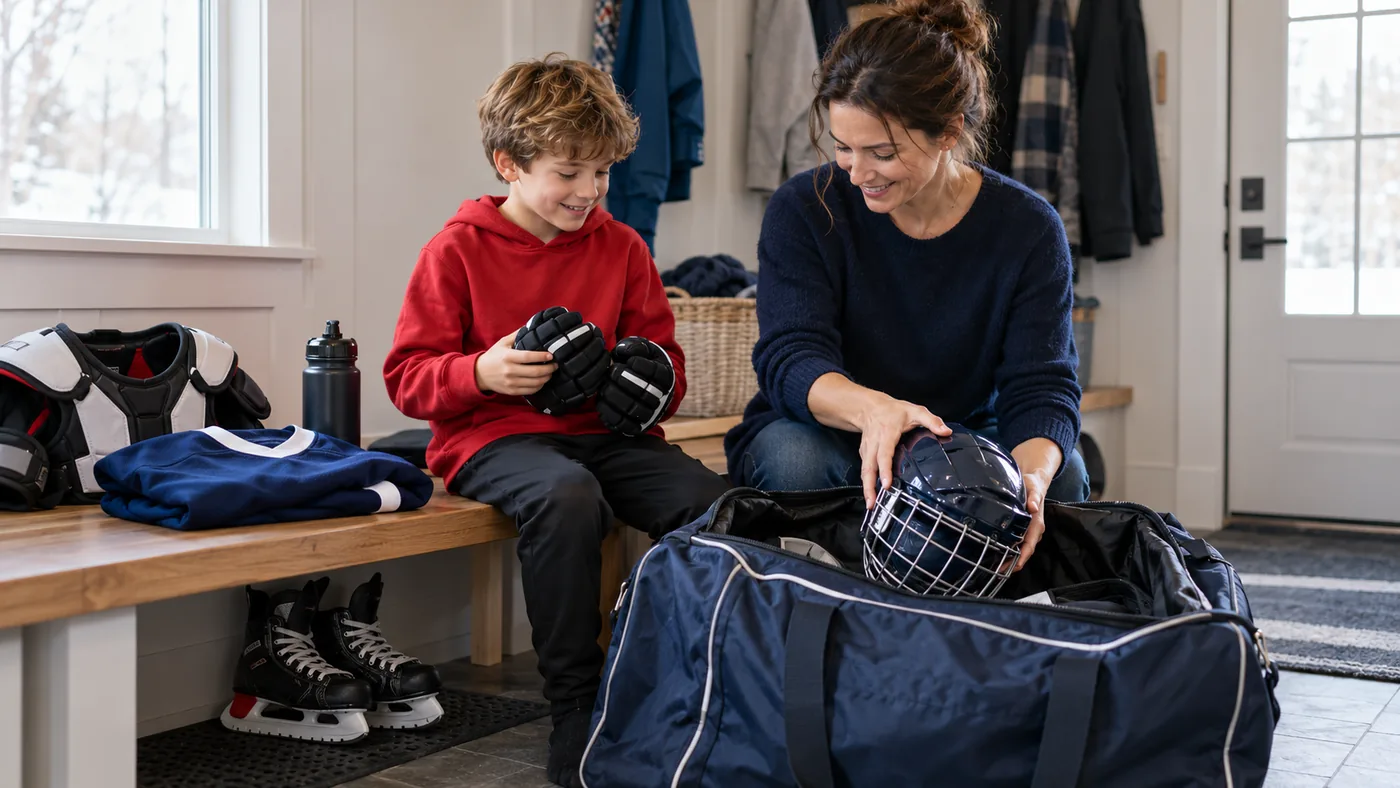
Hockey has more gear, earlier mornings and more unwritten rules than most youth sports. That can feel overwhelming in September. By December, most families have it down to a 10-minute routine. This checklist gets you there faster.
Before the season starts
Most paperwork is due before the first practice, and a missing item can keep your player off the ice.
- Register with your local association or club, and ask what the fee covers (ice time, jerseys, tournaments, coaching).
- Buy the annual national membership: USA Hockey in the US, Hockey Canada through your club in Canada. Teams cannot roster a player without it.
- Confirm your player's age division (8U, 10U, 12U and so on) and whether the program is house/rec or travel.
- Ask about tryout or evaluation dates, even for rec programs.
- Complete any medical, concussion-awareness and code-of-conduct forms the club requires.
- Find out about required parent training. Many associations ask parents to complete SafeSport or a parent education module.
- Sketch a budget: fees, gear, travel, tournaments, team apparel, and skate sharpening add up.
- Join the team's communication app or email list as soon as you get the invite.
Tip: Ask your club if it runs a learn-to-play program, a gear swap or a loaner kit. Many do, and it can cut first-year costs significantly.
The gear checklist
Fit matters more than brand or price: gear that is too big slides out of place and leaves gaps. Have your player try everything on together, ideally at a hockey shop with staff who fit youth players.
- Helmet with full cage — Certified (HECC in the US, CSA in Canada). Snug with no wobble; check the certification sticker's expiry date.
- Mouthguard — Required in most youth leagues. Many attach to the cage.
- Neck guard — Now required by USA Hockey and Hockey Canada for youth players. Should cover the throat without restricting breathing.
- Shoulder pads — Cap sits on the shoulder point; chest plate covers the sternum.
- Elbow pads — Elbow centered in the cup; no gap between pad and glove cuff.
- Gloves — Fingertips just short of the glove's end; cuff meets the elbow pad.
- Jock or jill with shorts — Compression shorts with built-in cup hold socks up with Velcro tabs.
- Shin guards — Kneecap centered in the cap; bottom ends at the skate's tongue.
- Hockey pants — Waist snug, bottom overlaps the top of the shin guard.
- Hockey socks — Usually provided in team colors; worn over the shin guards.
- Skates — Snug heel, toes just brush the toe cap when standing. Never buy more than a half size up "to grow into.".
- Stick — Standing in skates, the top should reach roughly the chin; on bare feet, about the nose. Lefty or righty depends on which hand sits lower.
- Base layer — Moisture-wicking top and bottom, never cotton.
- Water bottle — Labeled with your player's name.
Buying used: Gloves, pants, shin guards and elbow pads are great used buys. Buy the helmet new or confirm its certification date, and have used skates checked for broken-down ankles and worn blades.
What lives in the hockey bag
A forgotten skate guard or roll of tape is the most common first-season problem. Keep a small pouch of extras in the bag at all times.
- Skate guards (to walk to and from the ice without dulling blades)
- Soakers (soft blade covers for storage after drying)
- Clear tape for shin guards and socks; black or white tape for the stick
- Spare laces, sized to the skates
- Small towel for wiping blades after skating
- Spare mouthguard
- Small screwdriver for cage and helmet clips
- Lace tightener or hook, especially for younger players
- Home and away jerseys, if the team doesn't hold them
- A snack and a change of clothes for after
Tip: Run through this list the night before an early practice. A 6 a.m. ice time leaves no room to hunt for a missing glove.
At the rink
Plan to arrive 30 minutes before practice and 45 to 60 minutes before games, unless your coach says otherwise. Dressing takes longer than you expect.
Dressing order (bottom up, so nothing has to come off again):
- Base layer and jock or jill shorts
- Shin guards, then socks pulled over and taped or Velcro-tabbed
- Pants
- Skates, laced snug through the ankle
- Neck guard, shoulder pads, elbow pads
- Jersey
- Helmet, mouthguard and gloves last, right before going on the ice
Locker room and stands etiquette:
- Help young players dress early in the season, then step back. Most teams want parents out of the room by about 10U.
- Follow your association's locker room policy; many require two screened adults present.
- Cheer for effort and for both teams. Leave coaching to the coaches.
- Never talk to referees, many of whom are teenagers learning the job.
- Bring a warm jacket, gloves and a blanket. Rinks are cold, and you'll be there a while.
Caring for the gear
The famous hockey smell comes from bacteria in gear left wet in a closed bag. Unpack after every skate and the problem mostly goes away.
- Empty the bag as soon as you get home, every time.
- Hang gear to dry on a drying rack or tree, in a spot with airflow (a fan helps).
- Wipe skate blades dry, pull the insoles out to dry, and store blades in soakers, not hard guards.
- Wash base layers, socks and jock shorts after each use.
- Wash or sanitize pads every few weeks; many shops offer gear-sanitizing services.
- Sharpen skates roughly every 10 to 15 hours of ice time, or when your player says they're slipping.
- Check helmet screws, cage clips and skate rivets monthly.
- Re-tape the stick blade when the tape wears through.
Settling into the season
Youth hockey schedules shift often because ice time is scarce. Families who check the team app daily rarely get caught out.
- Sync the team schedule to your family calendar, and turn on notifications for changes.
- Note which rinks you'll visit and how long each drive takes. Add a buffer for early-morning ice.
- Set up a carpool with one or two nearby families.
- Sign up for a volunteer role. Teams need timekeepers, scorekeepers, a team manager and snack coordinators, and some clubs require volunteer hours.
- Learn the basics: offsides, icing and line changes make games far easier to follow.
- Ask about tournament weekends early so you can plan hotels and time off.
- Know who to contact for what: coach for hockey questions, team manager for logistics.
- Use the 24-hour rule: wait a day after a game before raising a concern with the coach.
Keeping it fun
The goal of a first season is a kid who wants to come back next year. Skills, wins and ice time sort themselves out later.
- Celebrate small wins: a first crossover, a clean stop, a pass that connects.
- Keep the car ride home short on critique. "I love watching you play" goes a long way.
- Expect falls, tears and tired mornings. They're part of learning to skate.
- Let your player own small jobs, like packing their bag or drying their gear, as they get older.
- Get to know the other families. They'll be your rink friends for years.
Welcome to the hockey family. See you at the rink.